AI Video(Artificial intelligence-produced videos) are helping many YouTubers and content creators achieve unprecedented huge growth.
In this five-minute AI video editing tutorial, I’ll show you how to quickly and easily create your own AI video content. Let’s get started!
Part 1: Kyber AI Video Registration

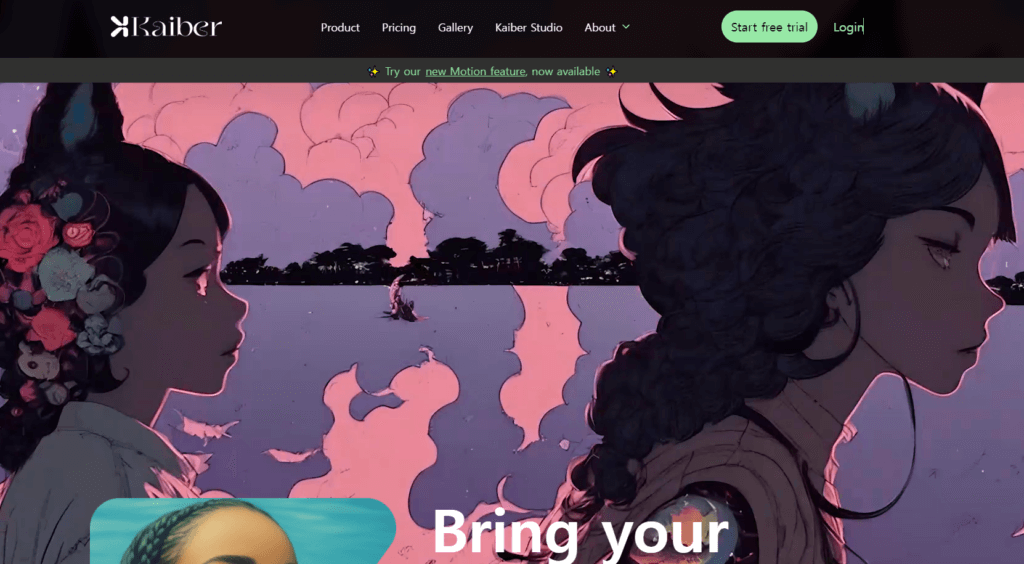
You need a Kiber AI account to start using Kiber AI. In this video description, you can find the Kaver AI link. Click the Start Free Trial button to register using an email or Gmail account.
Part 2: Video Preparation
Prepare your video before you edit it using Kyber AI. In this example, you are using Wondershare Filmora, but you can use the Movie Editor. Please import your video. For example, we’re going to use a 40-second video and we’re going to use the Cut feature to break it into seven parts. Right-click the second part, select the Export selected clip option, and export to the desired format and resolution. Repeat the same procedure for the fourth and sixth parts.
Part 3: From Video to AI Animation
Now log in to the Kaver AI dashboard. Click the Create First Video button and select an existing video conversion option. Select the second exported video
Previous step. Click Continue to continue. Type a prompt or select a pre-created topic. Click the Video Settings button to select a video style. Set the conversion value to the desired level to continue. The lower the value, the more stable AI animation is produced, and the higher the value, the more dynamic AI animation is produced. Click Go to Preview Frame to continue. Select the desired keyframe and click the Create Video button. Wait for the process to complete. If you’re satisfied with the results,
Upscale to full HD or 4K resolution. Go to the Upscaling Video menu, select the desired resolution, and click the Upscaling button. Wait for the process to complete. When finished, click the Download button to save the AI-generated video.
Repeat the same process for the second video, but this time we use a steampunk-style humanoid pirate. Now, enter your animation in the topic prompt bar and select Metterola Graffiti Style to convert the third image to an animated video style.
Part 4: Ending
Now go back to the Video Editor and import all AI-generated videos. Replace parts 2, 4, and 6 of the original video with the AI video version.
Add a decomposition transition to each part of the transition menu. Export the final video. Here are the results of this AI video editing tutorial.
The next AI video editing tutorial will provide a step-by-step guide on how to create faceless YouTube channels using the AI video editor.